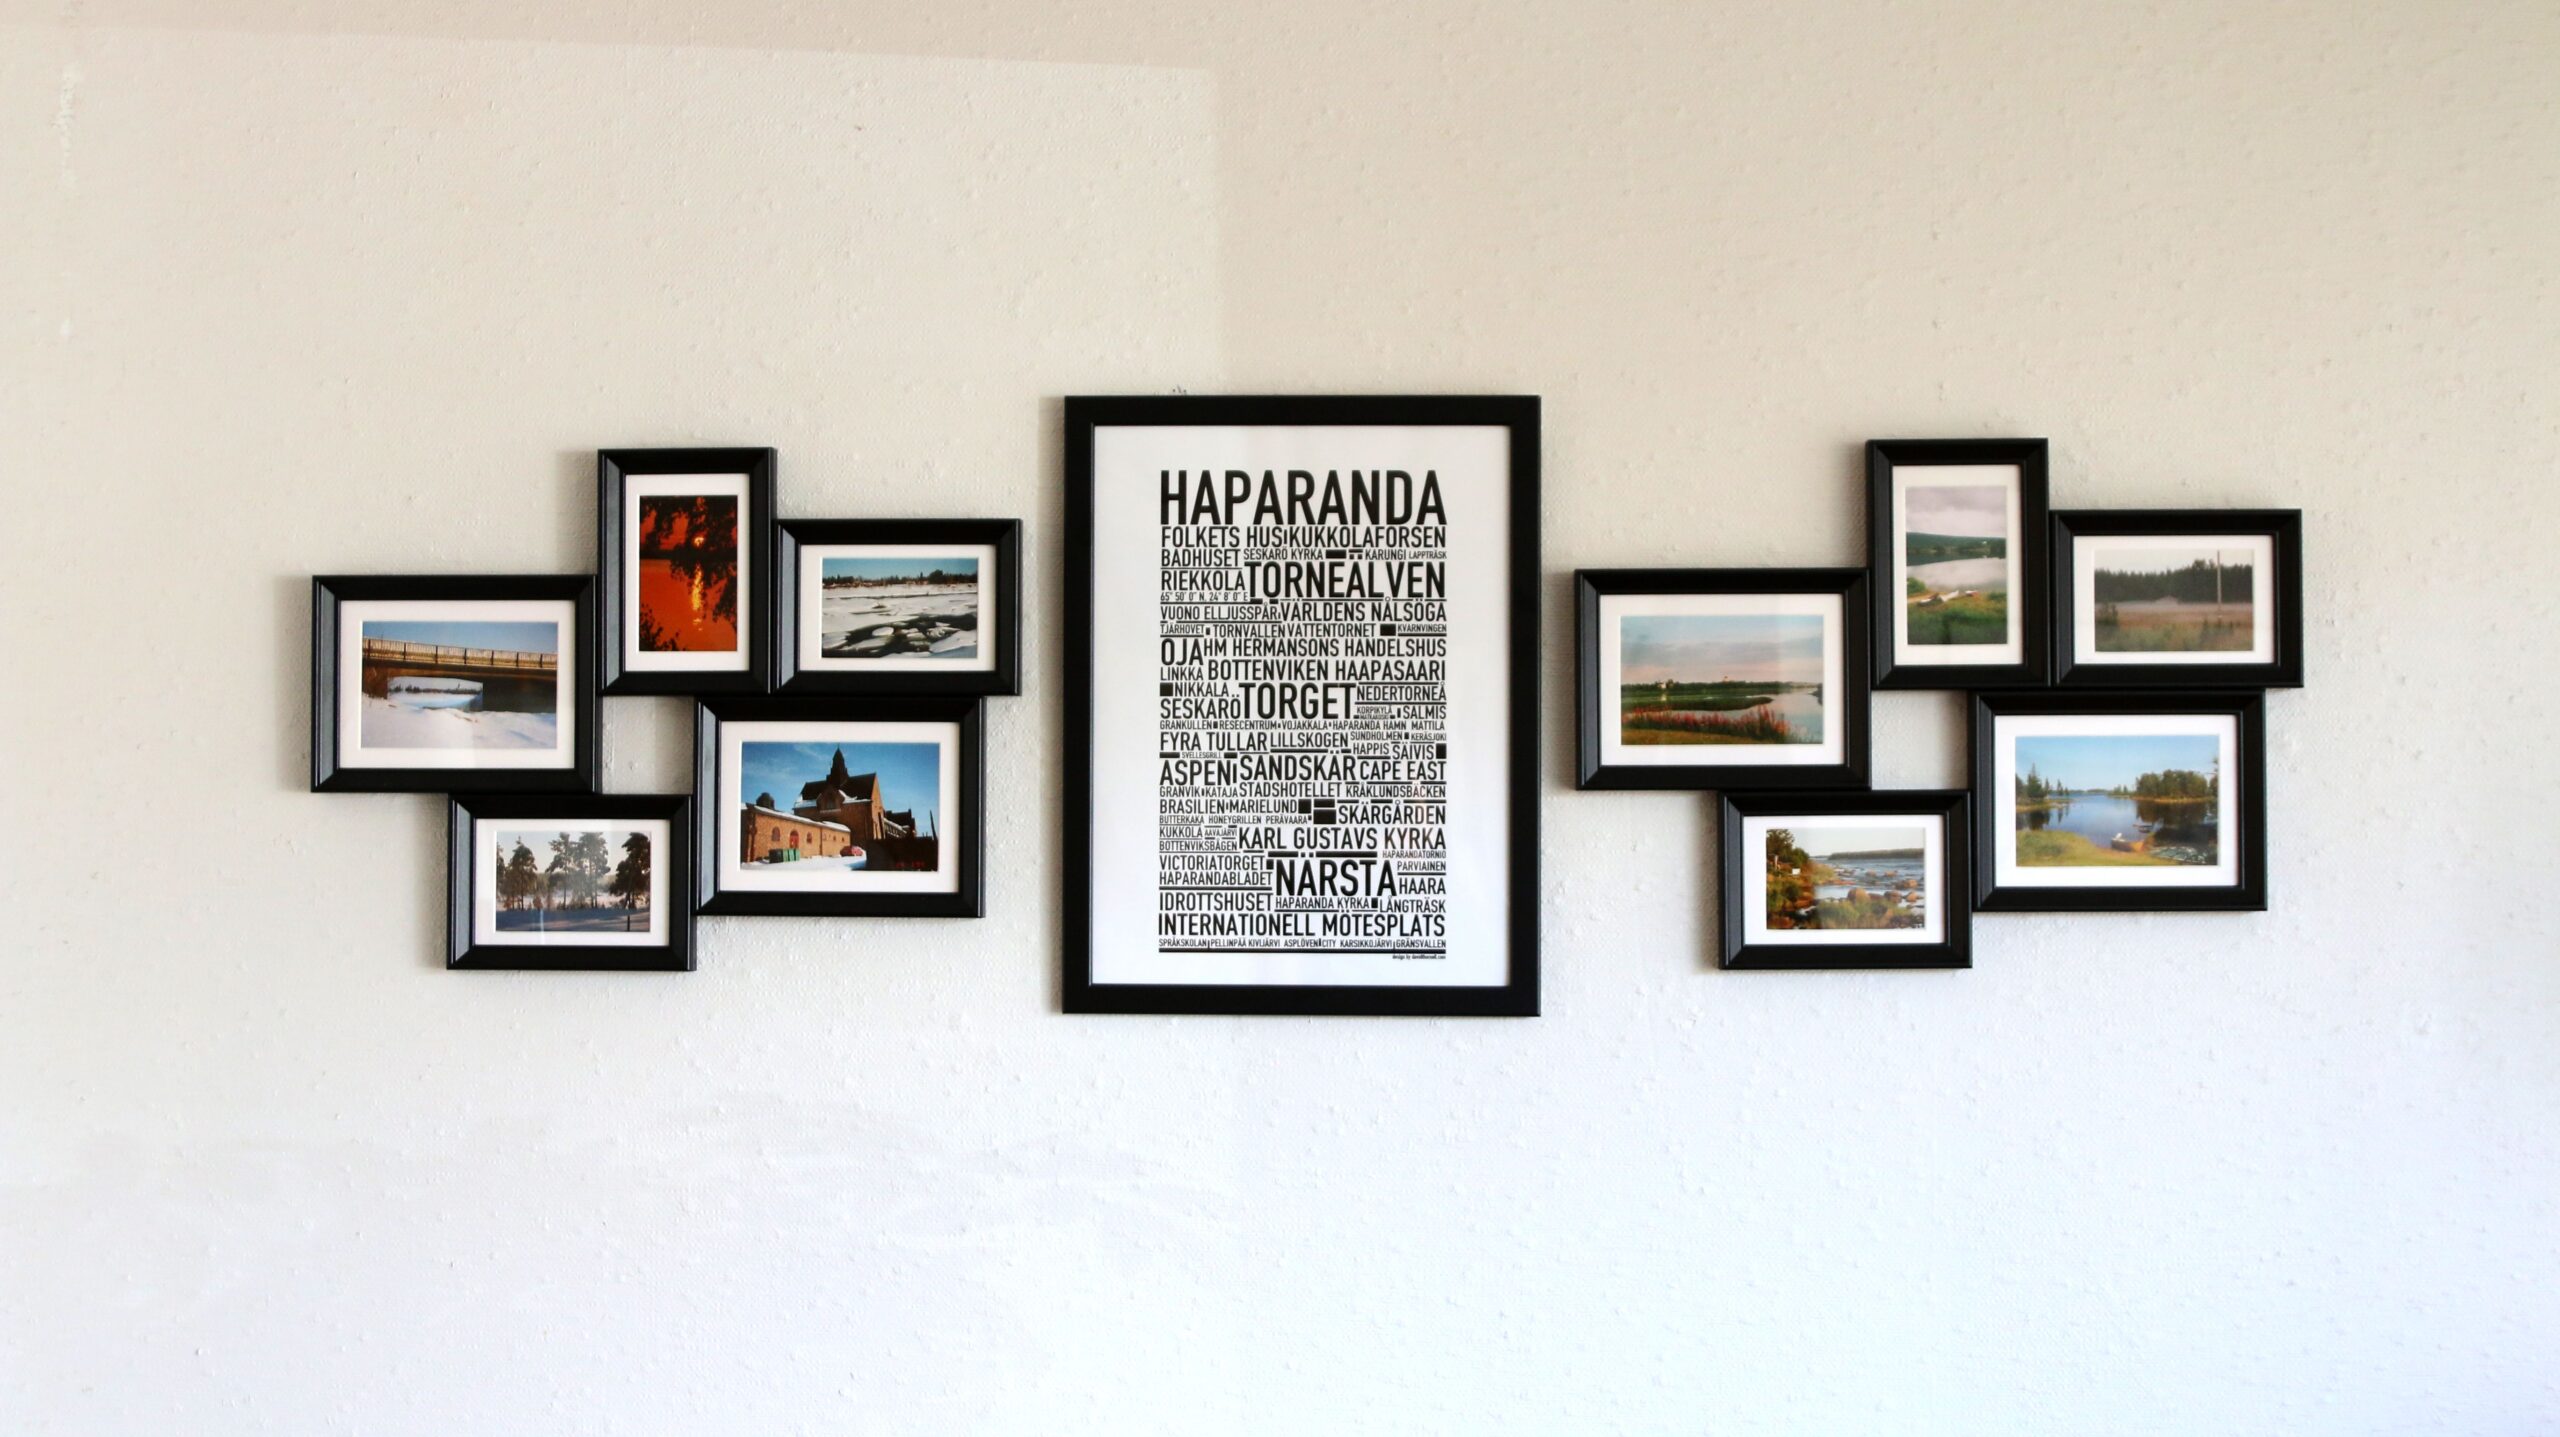
A beginner-friendly gallery wall planning guide, including layout options,
spacing, templates and safe hanging.
A gallery wall can display family photographs, collected prints and handmade art in a
way that feels personal. The tricky part isn’t finding enough pieces; it’s arranging
them so the group looks intentional. Planning on the floor and using paper templates
can save a wall full of unnecessary holes.
Gather a focused collection
Start with five to nine pieces if your wall has room. Mix photographs, drawings and
typography, but establish one link between them: similar colors, matching mats,
repeated frame finishes or a common subject. You can add pieces later once the initial
arrangement works.
Measure the available space
Note the wall’s width, the top of nearby furniture and any switches or vents. Leave
enough space that the collection reads as a group rather than spilling into unrelated
areas. Consider where people will stand when viewing it.
Choose a layout style
Grid: Matching frame sizes arranged in straight rows. Best for a clean, architectural
look.
Salon style: Different sizes grouped around a visual center. Best for mixed art and
collected frames.
Linear: Frames aligned along a shared top, bottom or central line. Useful above a long
sofa or sideboard.
None is inherently better. Choose based on the artwork you already have and the
room’s proportions.
Test it on the floor
Arrange every frame on a large clear section of floor. Start with the largest piece
slightly off-center or centrally, depending on your plan. Fill around it with smaller
works. Photograph each version so you can compare without relying on memory.
Keep spacing deliberate
Consistent gaps often work better than measuring every outside edge to an exact grid.
As a starting point, try gaps of approximately 5–8 cm (2–3 inches) and adjust for frame
size and the viewing distance. This is a design guideline, not a rule.
Make paper templates
Trace each frame onto kraft paper and write its name on the front. Mark the hanging
point on the template, remembering that a wire or hook may sit below the top edge.
Tape the paper rectangles onto the wall and step back. Make corrections before
drilling.
Hang safely
Check whether the wall is plasterboard, masonry or another substrate. Select rated
hooks or anchors for the weight and wall type, and be mindful of hidden wiring or
plumbing. Use a level and verify each frame is secure. Avoid hanging heavy glass
frames above beds or anywhere failure could cause injury.
Style the finished collection
View the wall from the entrance and main seating area. If one side feels visually
heavy, swap a dark or oversized piece for something lighter. You can also change the
mats rather than replacing the art. Resist filling every gap; some breathing room helps
the collection feel considered.
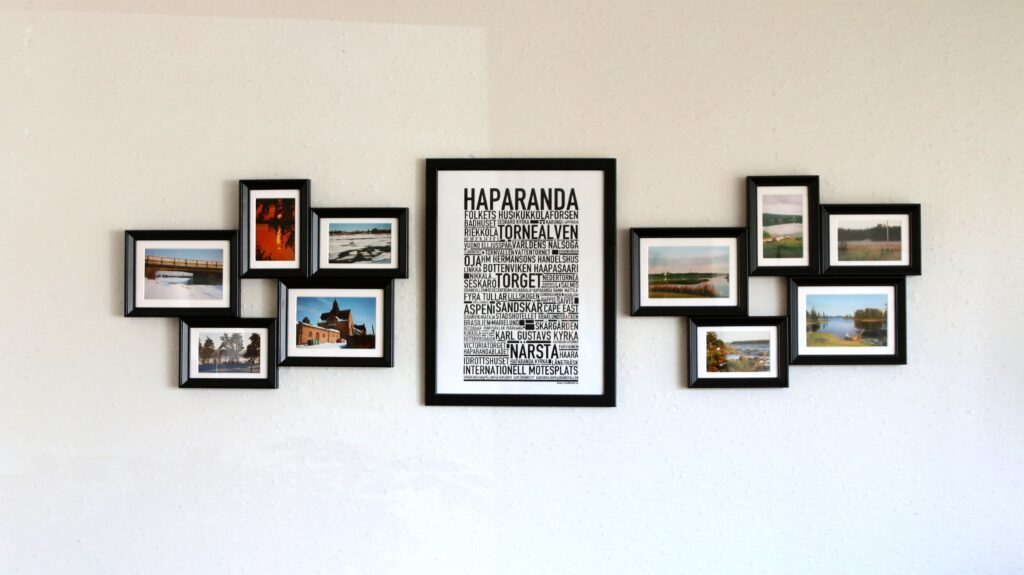
Common gallery wall mistakes
Hanging before testing a layout.
Mixing every available frame style with no unifying detail.
Letting frames drift too far apart so they stop reading as a group.
Choosing hanging hardware based only on convenience rather than weight.
Positioning the display so high that it feels disconnected from the furniture below.
Frequently asked questions
Should all the frames match?
No. A shared mat color or a limited mix of two frame finishes can tie varied frames
together.
Can I build a gallery wall in a rental?
Often. Check your lease and wall surface, use appropriately rated removable hanging
systems where permitted and respect their weight limitations.
Do I have to use personal photos?
Not at all. Original drawings, postcards you have rights to display, pressed botanicals
and licensed prints can all be part of the collection.