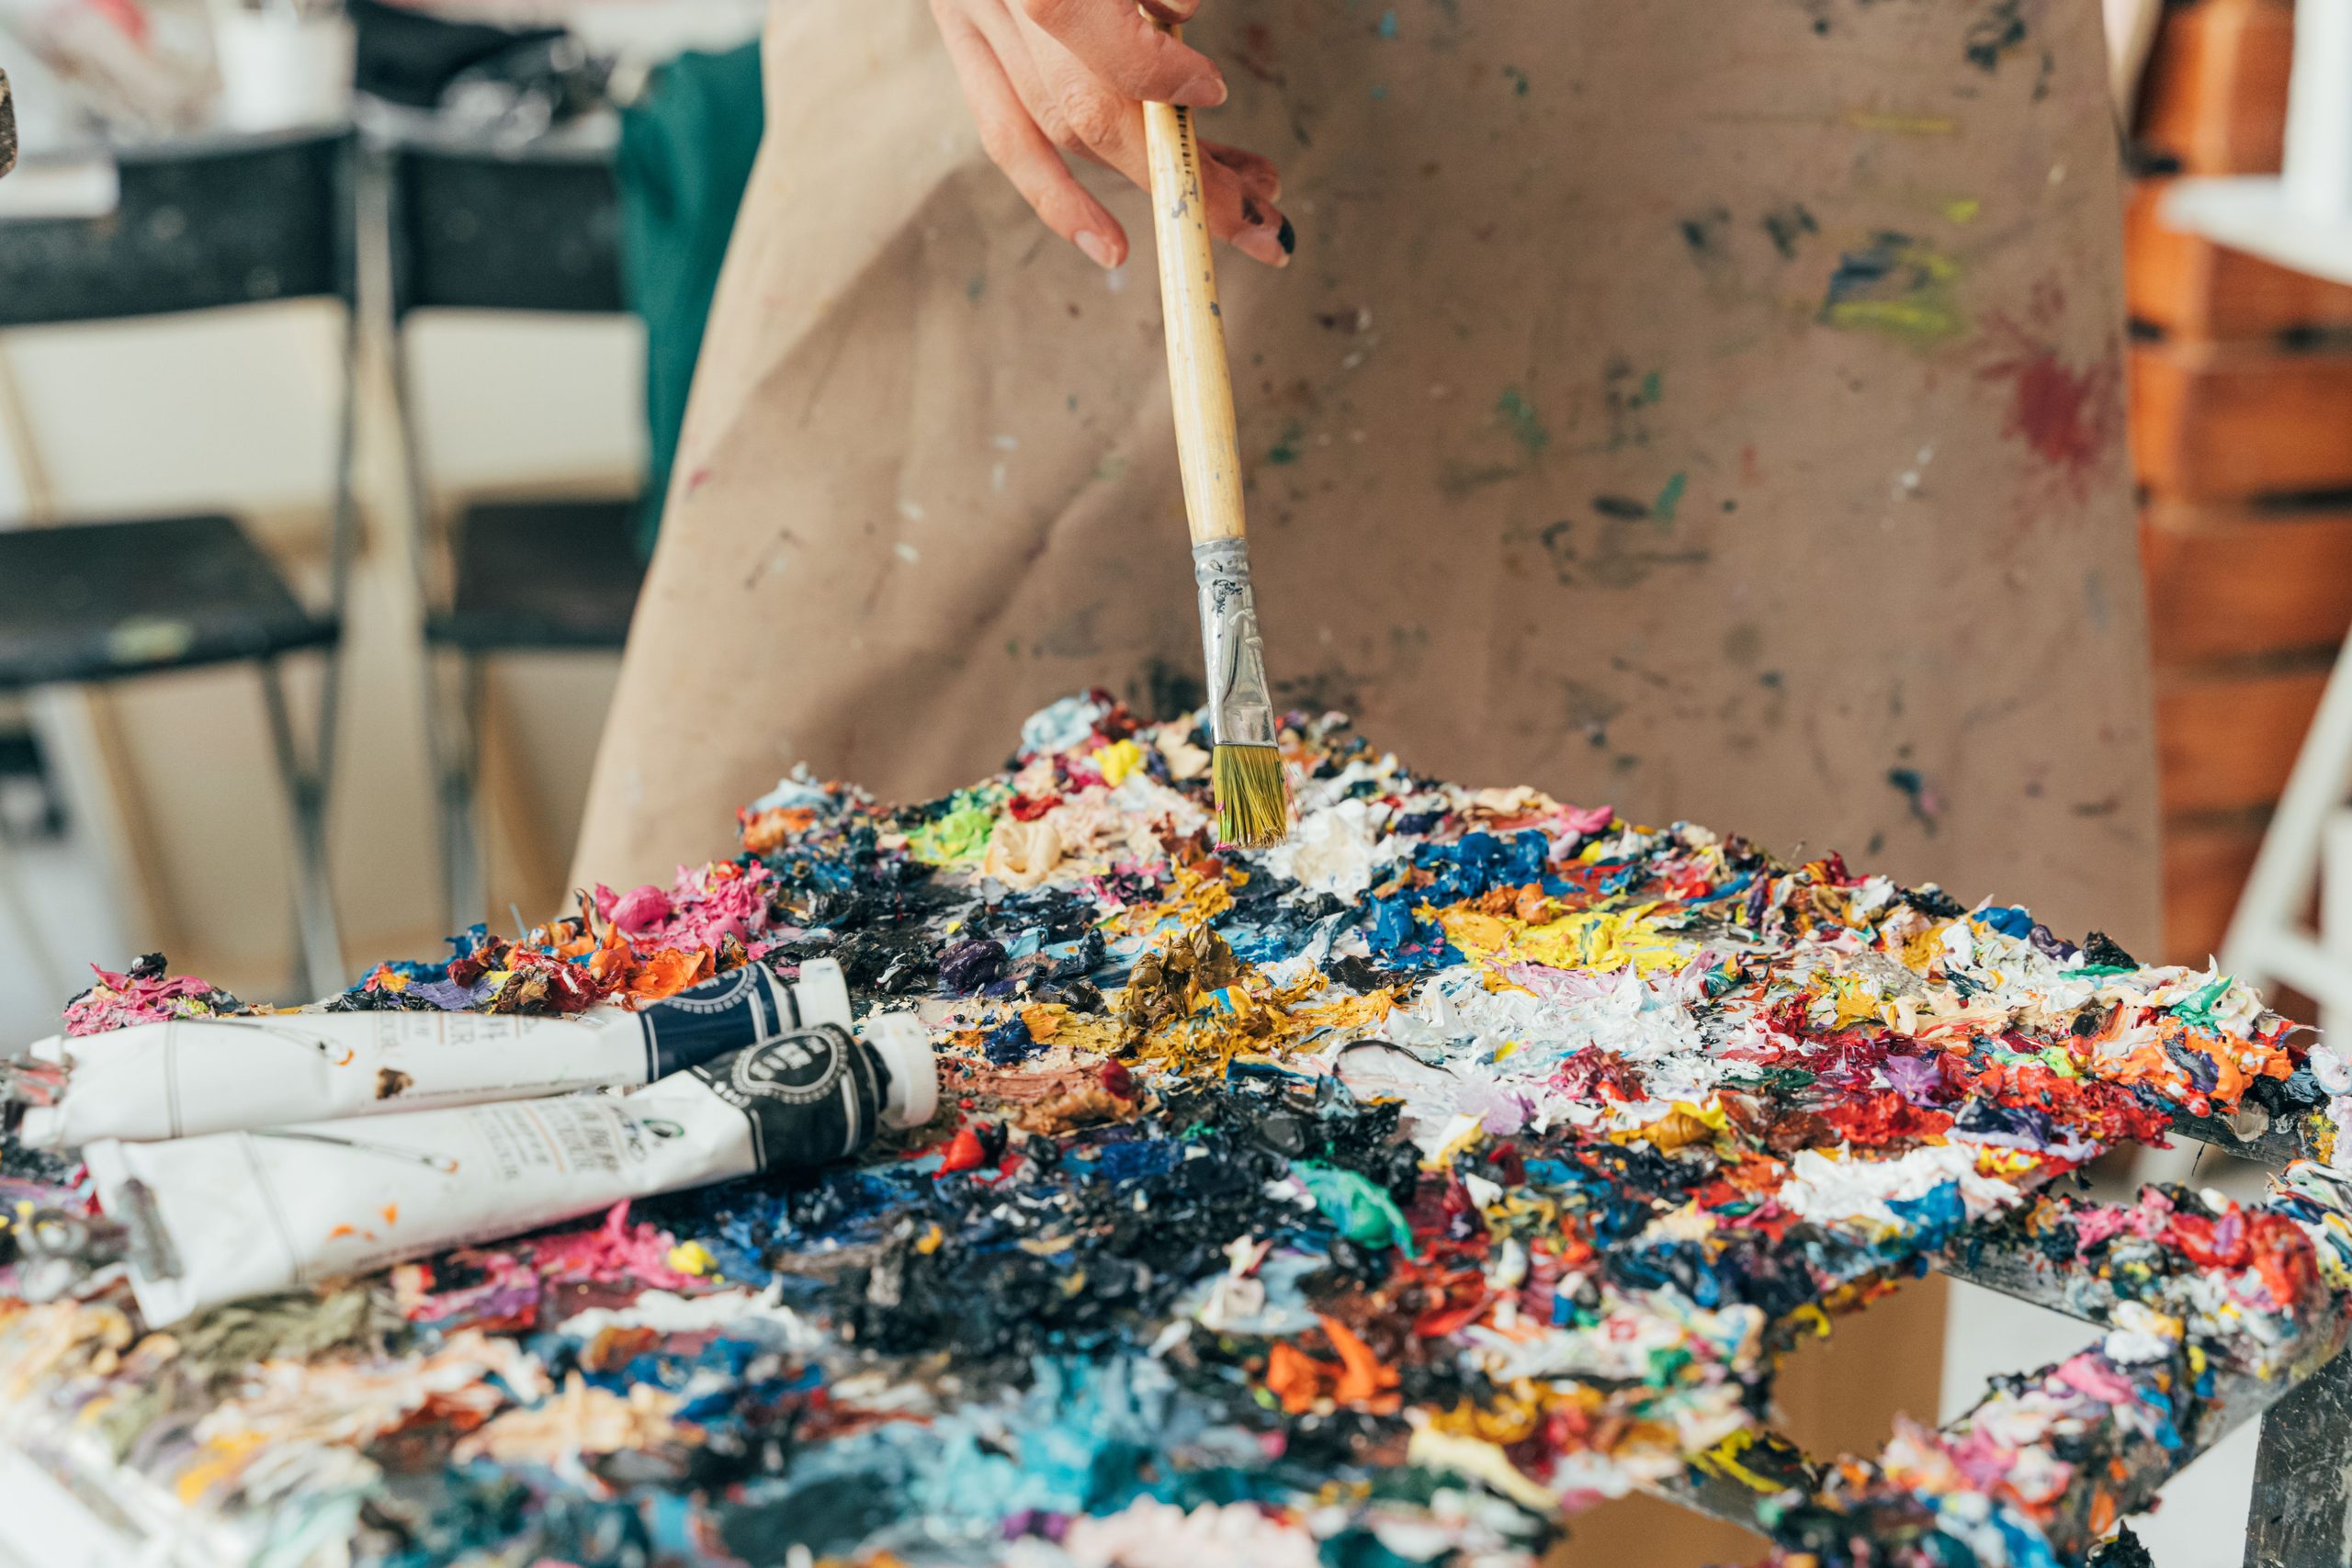
Learn essential acrylic painting supplies, color mixing, brush techniques
and a simple first project.
Acrylic paint is popular with beginners because it is versatile, widely available and
generally dries faster than oil paint. You can use it for bold color blocks, soft layered
scenes or loose abstracts. The best first goal is not a perfect painting; it is learning how
much paint you need, how colors combine and how brushes behave.
Build a small starter kit
You need only a few colors: white, a warm and cool primary selection if available, and
perhaps an earth tone. Add two or three brushes, a palette, a water container, a cloth,
acrylic-friendly paper or a prepared canvas panel, and a protective work surface.
Read the paint label and use products intended for your age group and setting. Keep
paint and rinse water away from food and drink.
Understand the three things acrylics do well
Acrylics can cover earlier layers once those layers are dry. They also let you build
textures with suitable artist mediums. Finally, they work in both thin and opaque
applications, although adding too much water can affect coverage and film strength.
For very fluid effects, use a medium specifically designed for acrylic paint.
Set up your palette
Squeeze out small amounts of paint. Acrylics can dry quickly on a palette, so it’s better
to add more than waste large puddles. Place warm and cool colors apart, leaving
space for mixing. Wash brushes before changing from dark to light colors.
Practice three brush exercises
Flat strokes: Load a flat brush lightly and paint five parallel strips. Try to keep the
pressure consistent.
Curved lines: Use a round brush to paint a series of C-shaped marks. Experiment with
rotating the brush and lifting it at the end.
Color gradients: Paint one color, gradually add white or a neighboring color and
create five swatches. This teaches you how mixtures change before you begin a larger
composition.
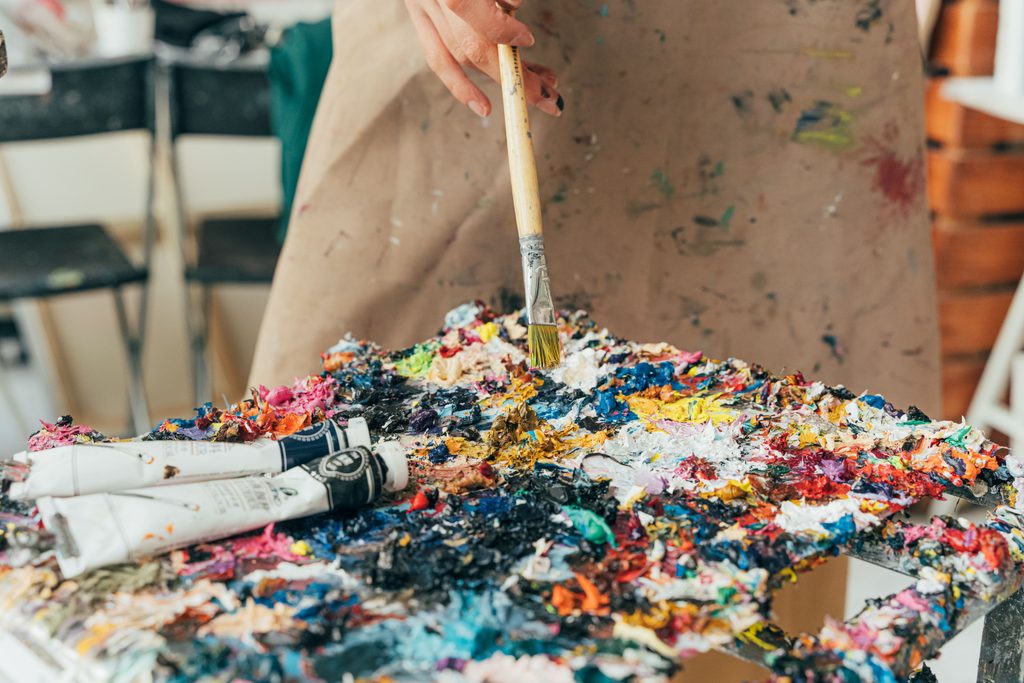
Try a simple landscape painting
Step 1: Sketch three large shapes
On your painting surface, lightly mark a horizon, a distant hill and a foreground
shape. Avoid adding tiny details yet.
Step 2: Block in the sky
Use a large brush and a light color mixture. Keep strokes broad. Acrylics may dry
darker or slightly differently than they look when wet, so test your blend first.
Step 3: Paint the distant hill
Choose a muted version of the hill color. A little of its complementary color can reduce
brightness without making the mixture muddy.
Step 4: Build the foreground
Use a stronger value contrast and a few varied brush marks to suggest grass, rocks or
plants. Don’t outline every object.
Step 5: Add one focal detail
A small tree or narrow path gives the eye somewhere to land. Stop when it supports
the composition; more detail does not always make a painting better.
Clean up properly
Wipe excess paint from brushes before rinsing and follow local disposal guidance for
paint residues. Don’t leave brushes sitting in water for long periods because handles
and ferrules can be damaged. Store materials securely away from children and pets.
Mistakes that are part of learning
Muddy mixtures often come from combining too many colors at once. Streaky
coverage may simply need another thin layer after the first one dries. If a section feels
overworked, leave it alone, let it dry and return with a fresh plan.
Frequently asked questions
Can I paint acrylics on ordinary printer paper?
Thin paper can buckle. Acrylic-friendly paper, a prepared canvas panel or suitable
heavyweight mixed-media paper is a more reliable choice.
Do I have to draw well first?
No. Abstract shapes, simple landscapes and color studies are good entry points.
Do acrylic paintings need varnish?
Not every project does. Consider the paint and surface manufacturer’s
recommendations, especially drying and curing requirements before applying any
protective coating.