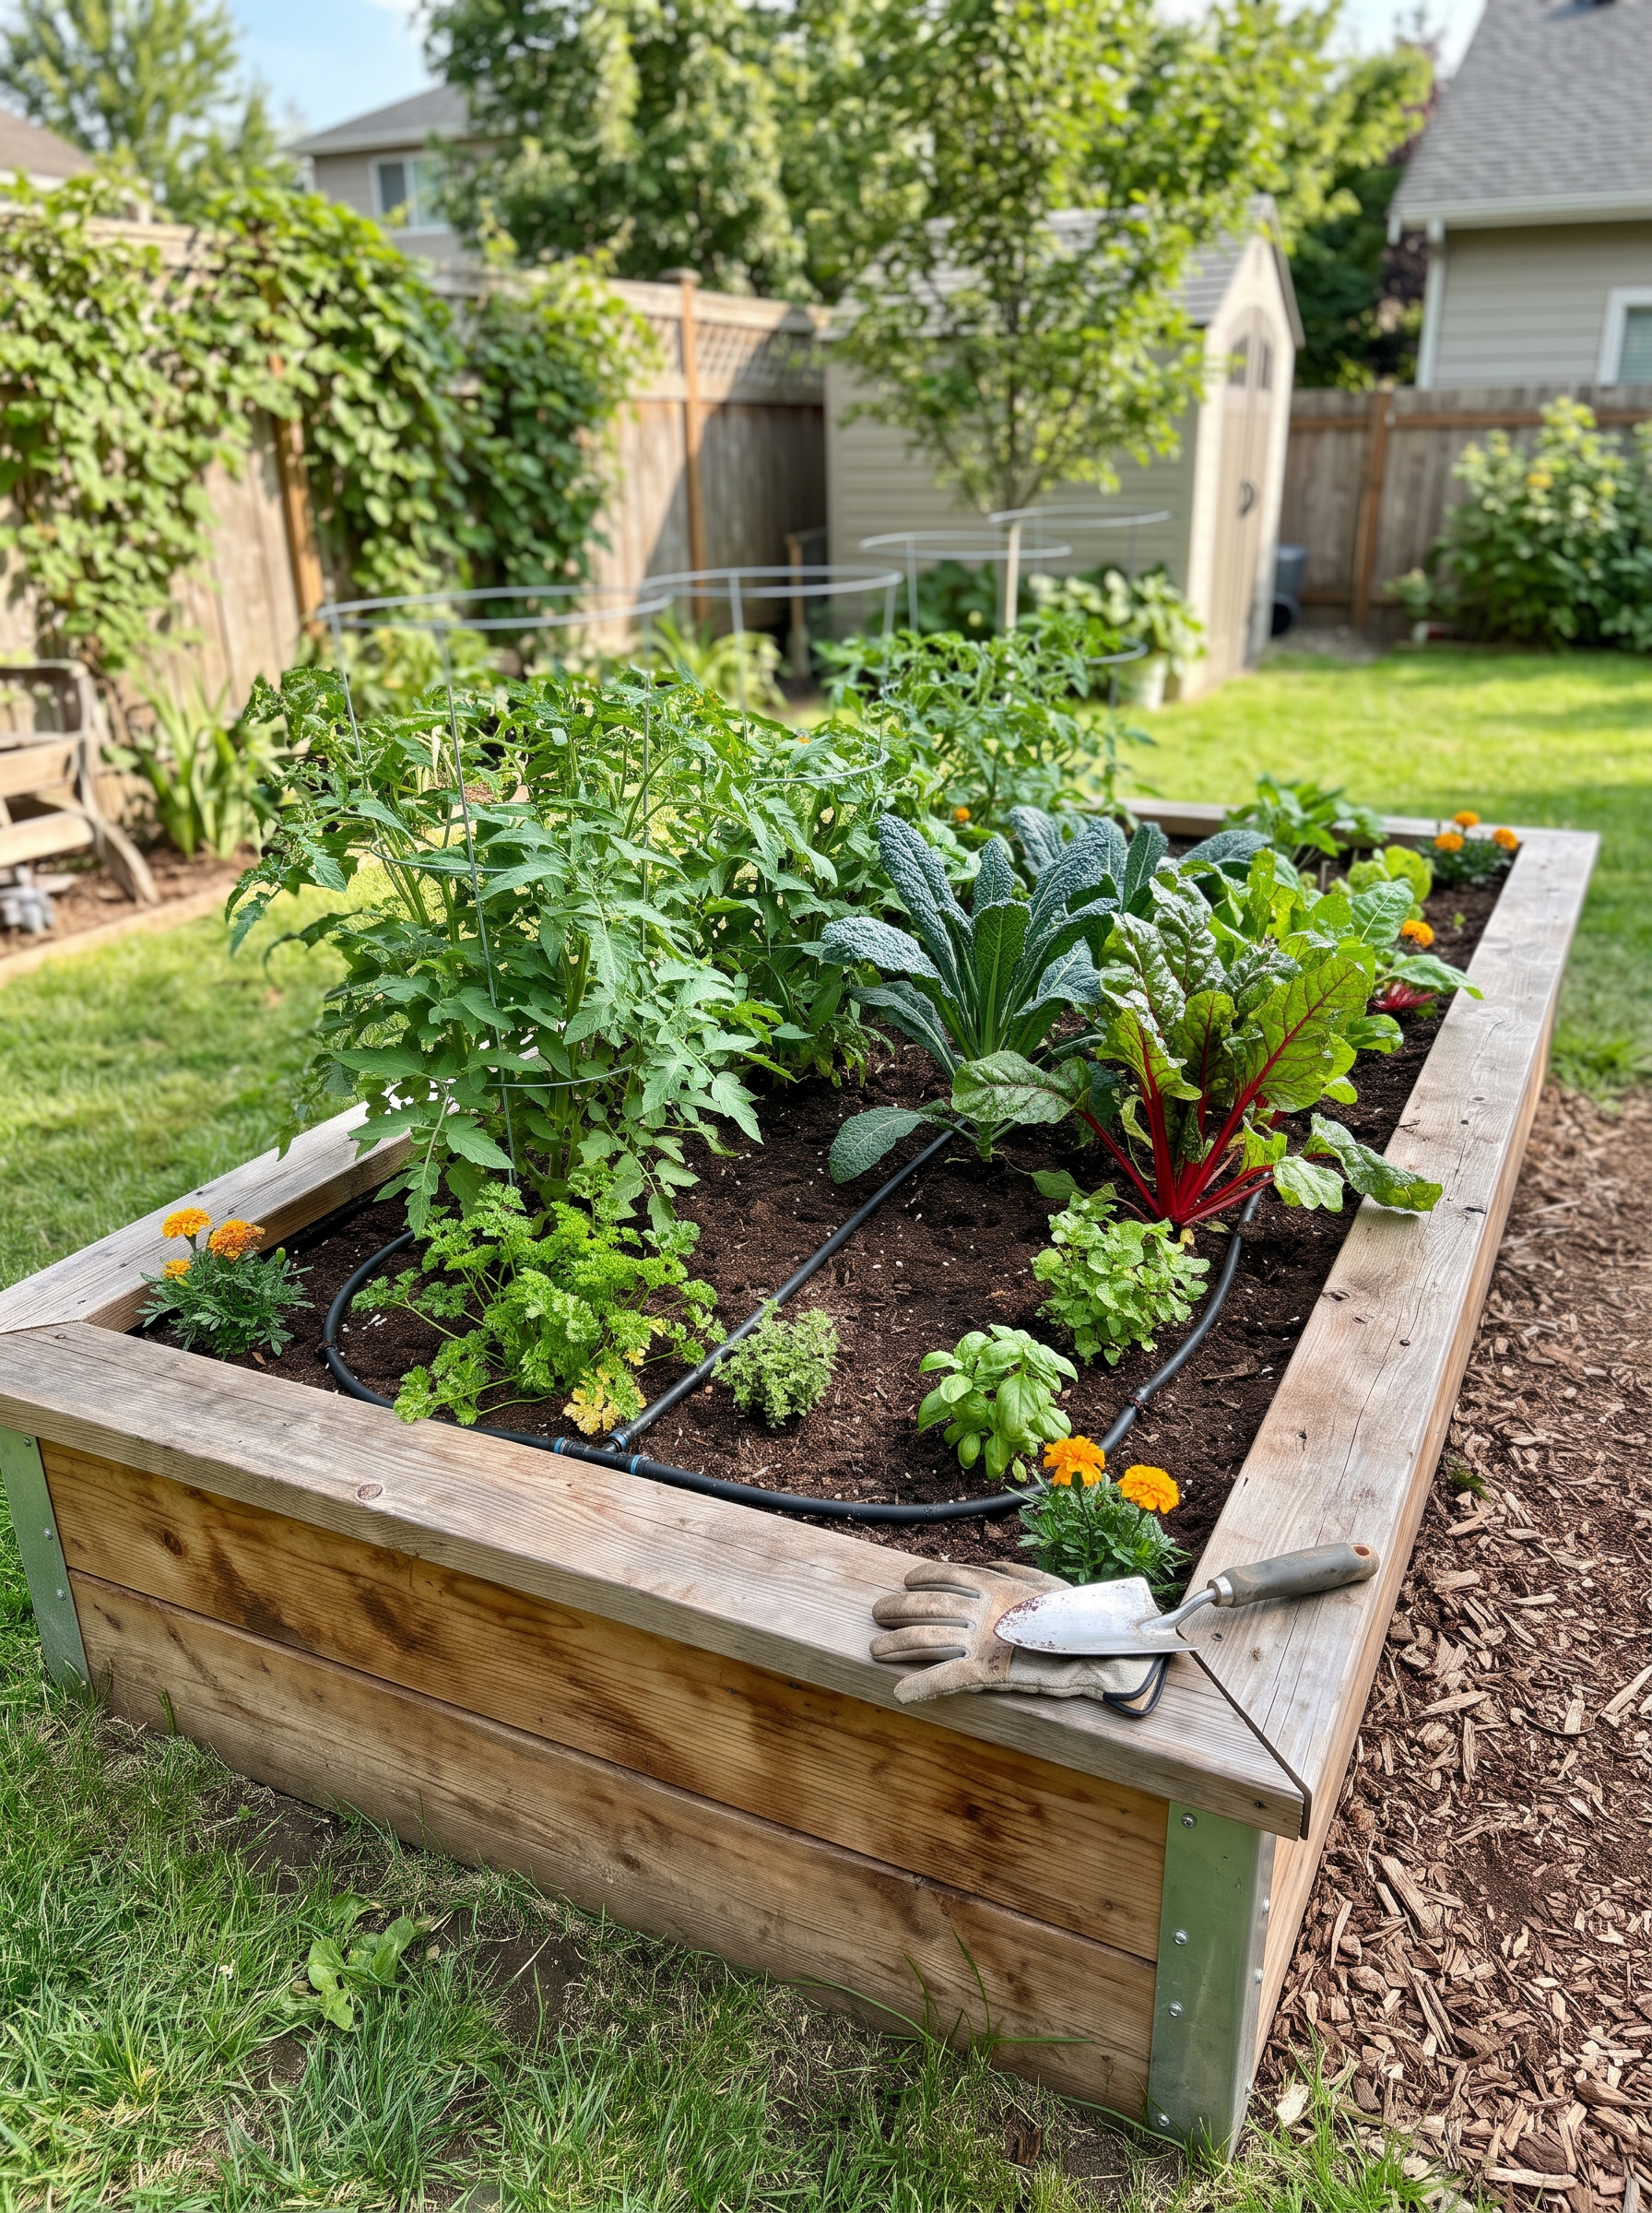
Raised beds solve most of the problems that frustrate first-time gardeners: poor soil, bad drainage, weeds, and back strain. And of all the materials you can build one from, cedar is the best balance of durability and cost. It resists rot and insects naturally, doesn’t need chemical treatment, and won’t leach anything into your soil.
This plan makes a 4 ft × 8 ft bed, 11 inches deep — deep enough for carrots and tomatoes, narrow enough to reach the middle from either side. Expect to spend about $150–$250 in materials and 3–4 hours of actual work.
Why cedar (and when to skip it)
Cedar contains natural oils that repel moisture and insects, so it lasts 10–15 years without any finish. Pressure-treated lumber is cheaper and lasts just as long, but modern ACQ treatment contains copper compounds — fine for flowers, but many gardeners prefer to keep it away from root vegetables. Pine is the cheapest option and will last 4–6 years before it starts to soften.
If cedar is out of budget, use 2-inch-thick pine and line the inside with a heavy-duty plastic sheet (with drainage holes punched through). It’ll buy you several extra seasons.
Materials
- 6 × 2×6×8 ft cedar boards (long sides)
- 2 × 2×6×8 ft cedar boards (cut into four 45-inch pieces for the short sides)
- 1 × 4×4×8 ft cedar post (cut into four 13-inch corner posts)
- 1 lb 2½-inch exterior deck screws
- 1 lb 1⅝-inch exterior deck screws
Tools
Circular saw or miter saw, drill/driver, speed square, tape measure, level, and a mallet.
Cut list
| Piece | Quantity | Length |
|---|---|---|
| Long side boards | 6 | 96″ (full length) |
| Short side boards | 4 | 45″ |
| Corner posts | 4 | 13″ |
The short sides are 45 inches, not 48, because they fit between the long boards. Two board thicknesses (1½” each) plus 45 inches gives you the full 48-inch outer width.
Step 1: Lay out the corners
Set your four corner posts on a flat surface in a rectangle, 96 inches apart on the long axis and 45 inches apart on the short. Check the diagonals with a tape measure — both should read the same. If they don’t, shift the posts until they do. This is the single most important step; a bed that’s out of square will fight you for the rest of the build.
Step 2: Attach the bottom row
Lay a 96-inch board against the outside face of two corner posts so its bottom edge sits flush with the bottom of the posts. Predrill two holes through the board into each post, then drive 2½-inch screws. Repeat for all four sides.
Step 3: Add the second row
Stack the second layer of boards on top of the first, flush at the ends, and screw through into the posts again. Offset your screws slightly from the ones below so you don’t split the post along the same grain line.
Step 4: Level the ground
Move the assembled frame to its final spot. This matters more than people expect — a bed that’s 2 inches out of level will pool water on one side and dry out on the other. Set a 4-foot level across the top rails and adjust by digging out high spots rather than propping up low ones. For a slight slope, it’s fine to bury one edge an inch or two into the soil.
Step 5: Line the bottom (optional but recommended)
If you’re building over grass or weeds, lay down two layers of overlapping cardboard before filling. It smothers what’s underneath, breaks down within a season, and feeds earthworms. Skip landscape fabric — it clogs with silt and stops the worms from moving up into your bed.
Step 6: Fill it
The cheapest and best-performing mix is roughly:
- 50% topsoil
- 30% compost (mix two or three types if you can)
- 20% coarse sand or fine pine bark
You’ll need about 1 cubic yard to fill a 4×8 bed to 11 inches. Order it in bulk if you can — bagged soil for a bed this size runs three to four times the price.
Maintenance that actually matters
Top off with 2 inches of compost every spring. Don’t walk on the soil — compaction undoes the whole point of a raised bed. And check the screws each spring; cedar shrinks slightly as it seasons, and a few may need a quarter turn.